Manage custom lobby templates, including settings, themes, banners, head offices, and categories.
Users can create a custom template from scratch, or edit existing templates to define the appearance and behavior of their lobby.
The process involves configuring lobby settings, themes, banners, head offices, and categories.
Follow the steps below to add a template:
-
Access the Lobby Dashboard page in Lobby CMS. This should be the default page upon login.
-
Click Add Template to begin creating your custom template; To edit existing templates, click the three dots in the top-right corner of a template and select Edit Template.
-
Customize the Lobby Settings as required, then click Save to confirm.
Lobby Settings
Lobby Settings define the core behavior of the template.
-
Login Type and Layout Type are locked after the template is saved.
-
Login-type–specific options:
-
Kiosk: Enabling Remember Me displays a checkbox on the lobby login page that allows login credentials to be saved.
-
Non-Kiosk: The MG Rewards icon can be enabled or disabled in the navigation bar of the lobby.
-
Theme Settings
Theme Settings control the visual appearance of the lobby, including colors and layout styling.
Basic Settings & Banner Management
Basic Settings contain general template information. Banner assets and on-click behavior are configured in Banner Management.
-
Upload or reset logo for the lobby in the template creation/edit page.
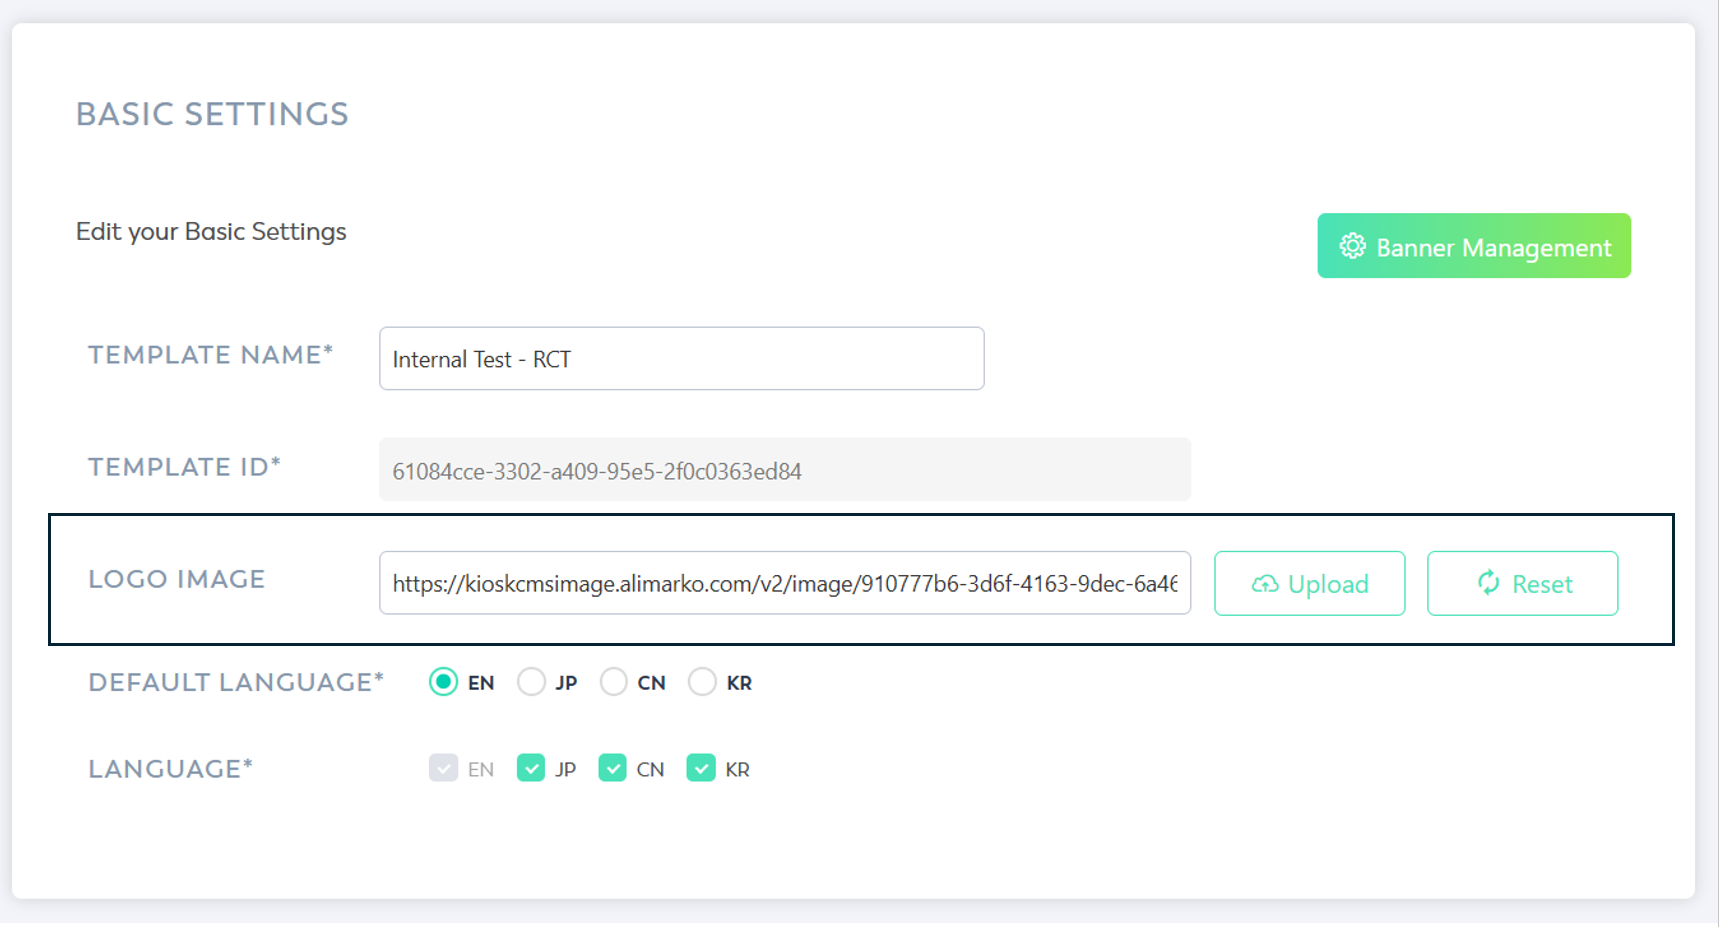
-
If no logo image is uploaded, the lobby will display the default icon.
-
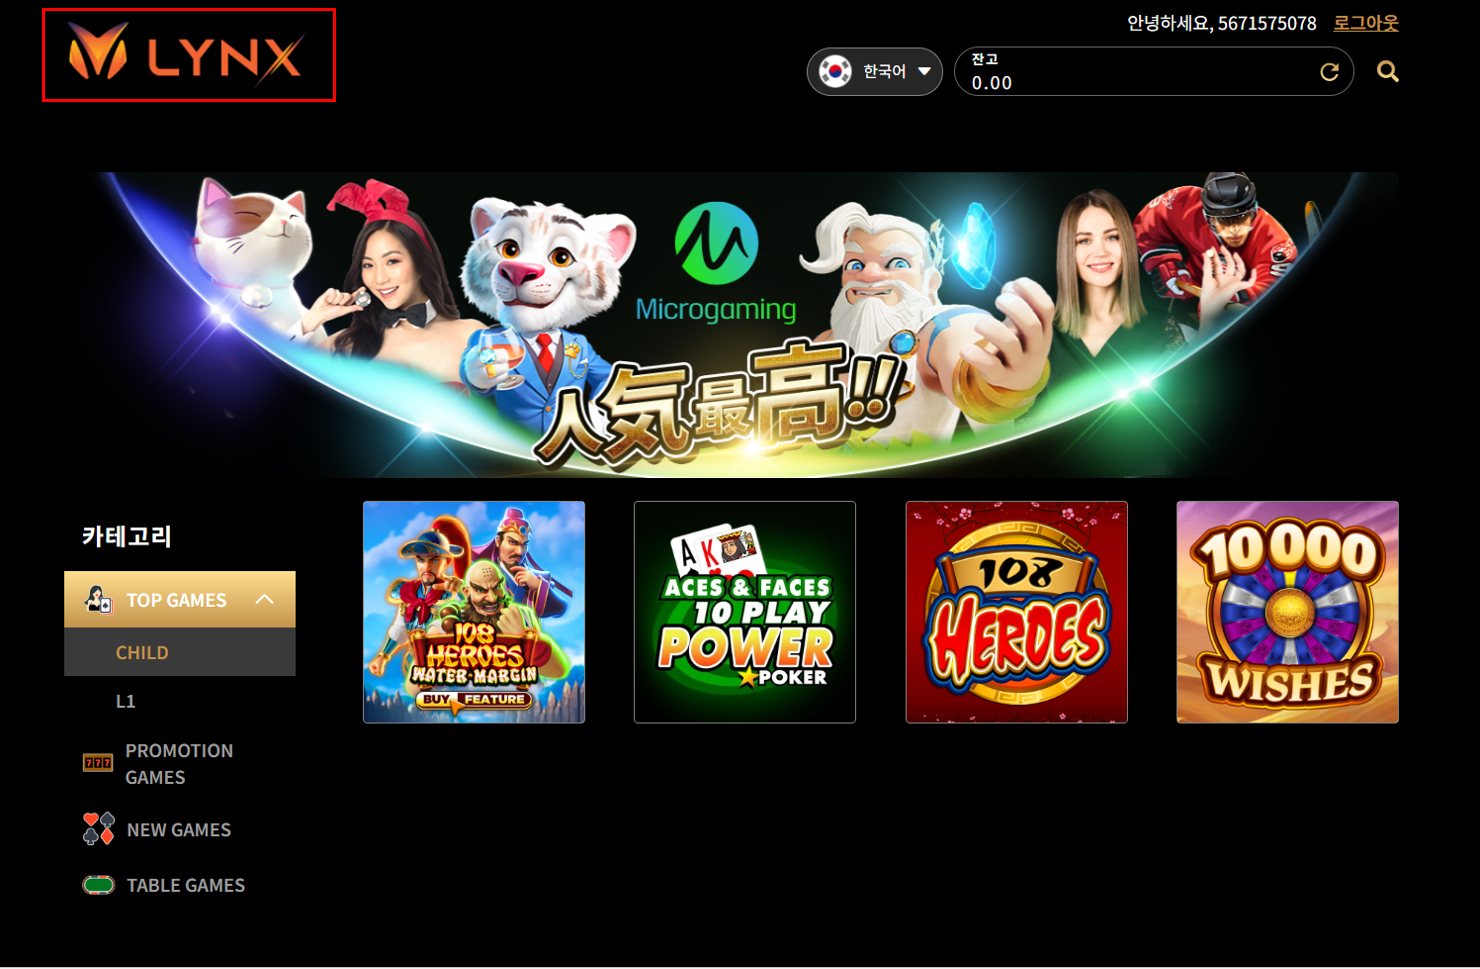
Lynx
-
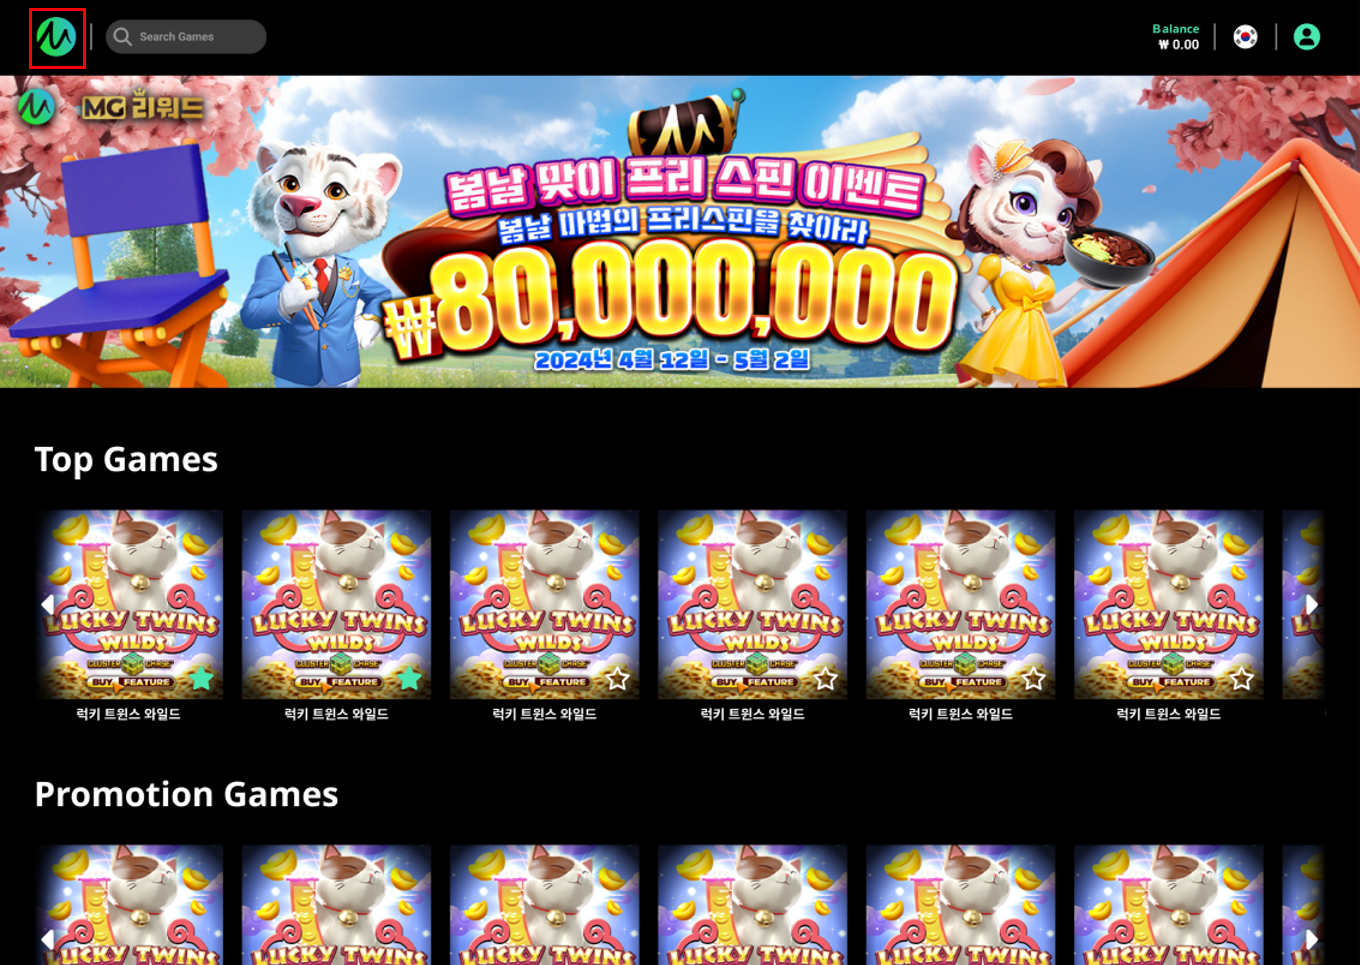
Falcon
-
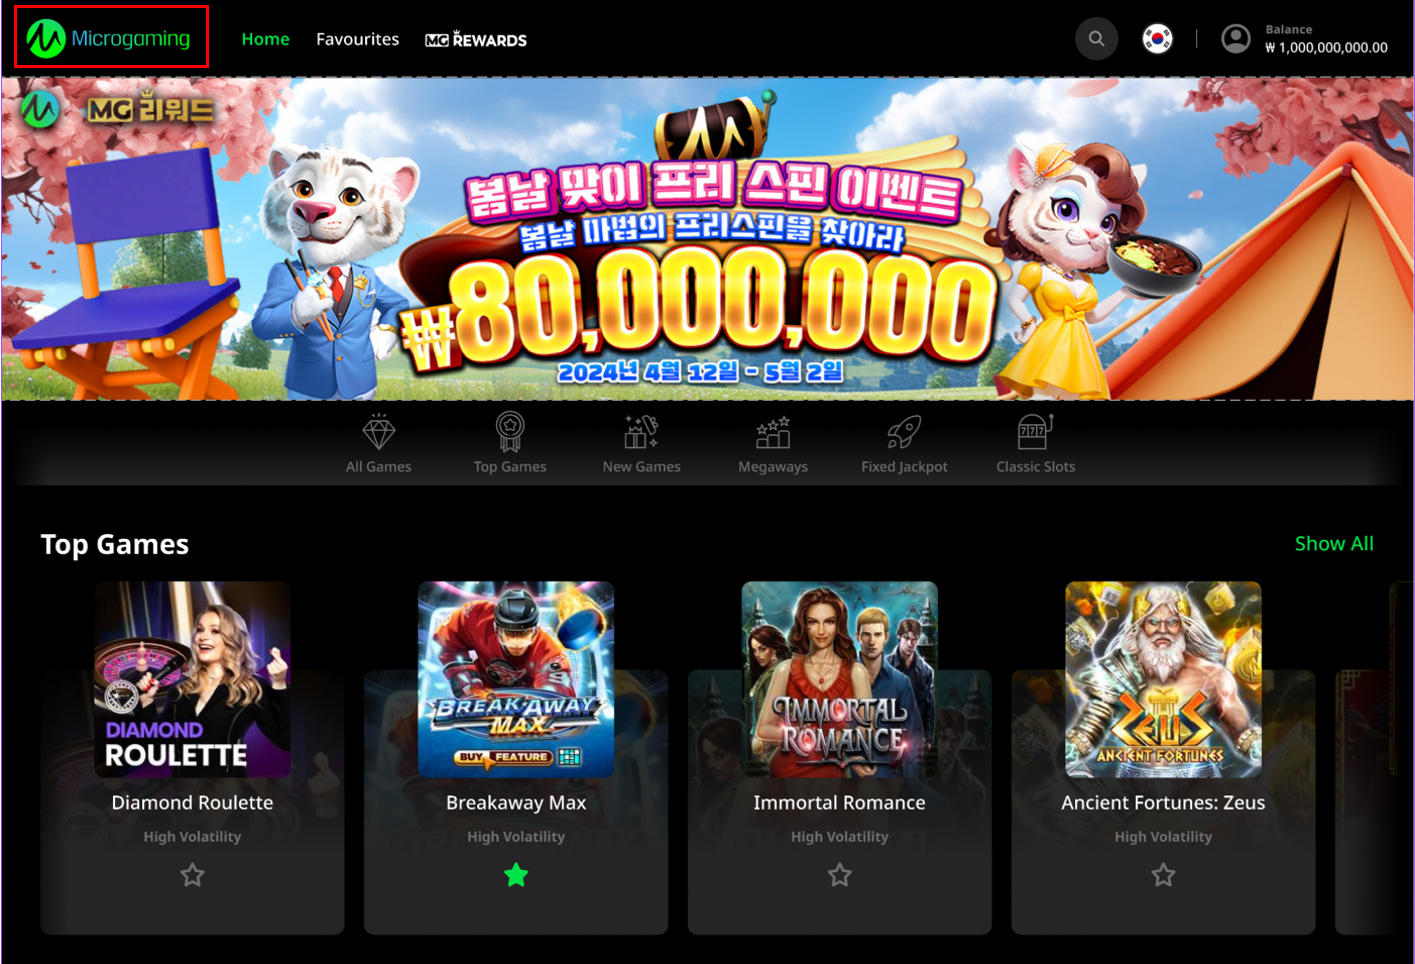
Aurora
-
-
If the user wants to upload an image, the following sizes are recommended:
-
Lynx: 300 x 100 px
-
Falcon: 42 x 42 px
-
Aurora: 300 x 100 px
-
Head Office Settings
Head offices can be assigned to a template from the List of Head Offices. Each head office may be assigned to multiple templates, and all head offices are automatically included in both the Kiosk and Non-Kiosk default templates.
Add HO to Lobby Template
Click Add HO to bring up a list of available Head Offices. Check the boxes next to the Head Offices to assign, then click Select.
Head Office Settings for the default template cannot be configured. All Head Offices are subscribed to the default template.
Once a custom template is assigned to the Head Office, it appears on the MG+ Backoffice Game Lobby Management page, where an agent can be assigned to it.
Refer to Assigning an Agent to a Custom Template as an Account Manager/Head Office Entity on the Game Lobby Management page for more details.
Category Settings
Categories are designed to better showcase and highlight the games in the lobby page. The Category List feature enables users to manage the sequence of the categories and the games assigned to each category.
-
Category Settings define the structure of the lobby menu.
-
New categories are added to the end of the list. Click Add Category to add a new category.
-
Categories can be removed using the rubbish bin icon.
-
The name of the category can be changed per language. If the language is not enabled in the Basic Settings, it will be disabled.
-
To change or add a category icon, click the Click to select an icon button or select the image to change it.
Falcon templates do not support category icons.
Template-specific behavior:
-
Lynx: Child categories can be added after saving via Save and Continue.
-
Falcon: The All Games category is required, non-configurable, and always appears last.
-
Aurora: The All Games, Top Games, and New Games categories are required, non-configurable, and always appear first.
Configuring Category List
Clicking Save and Continue in the Add Lobby Template page opens the Category List page for further configuration.
Editing the Category List:
-
Use the hamburger icon located on the left of the row to drag and reorder categories.
-
Parent category names are defined in Category Settings on the Edit Template page and cannot be modified here.
Actions:
-
(For Kiosk templates only) Click the + icon to add a child category.
-
Edit the names of the child categories directly by clicking the text for the desired language.
-
-
Click the controller icon to manage the game list for the category.
-
Click Add Games to add games to the category from assets uploaded to the Game Pool.
-
Click Edit Sequence to adjust game positions, then click and hold the hamburger icon on the top left to drag and reposition the game.
-
Click Delete Games to remove games from the category’s game list.
-
-
Select Save to confirm and finalize the template.